
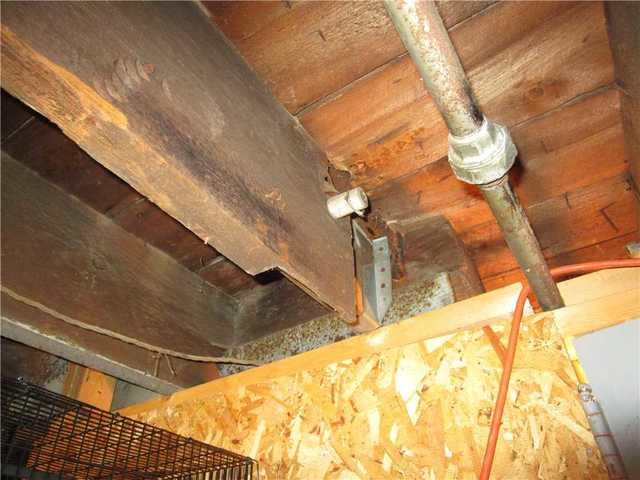
Home's Existing Support
Failing Support was causing the main floor to sink.
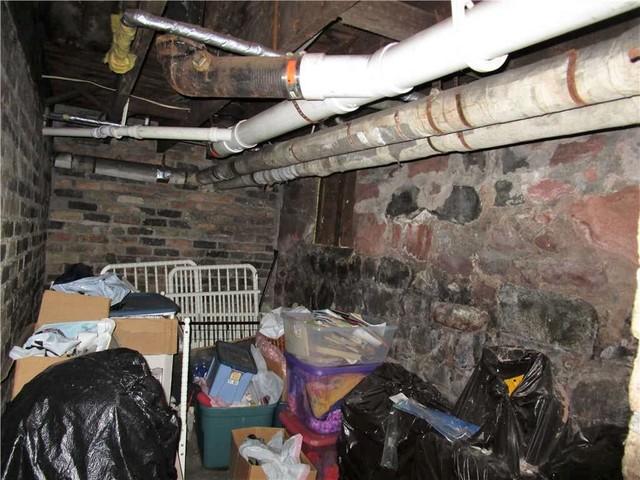
Stone Foundation Shift
This shifting foundation was allowing water to and cold air to enter the basement.
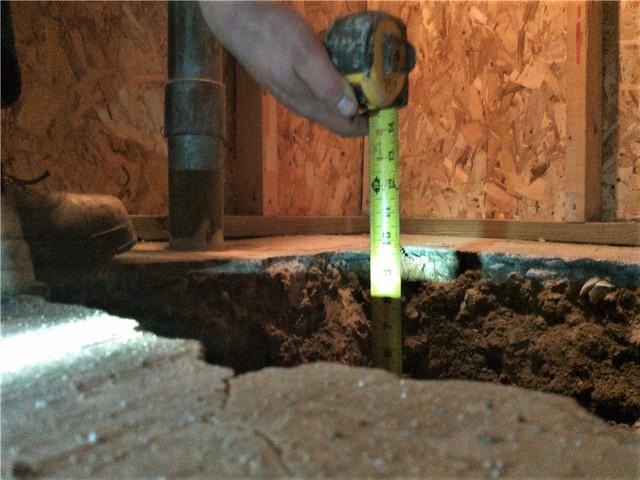
Digging WaterGuard® Drains
Our crews excavate the concrete around the perimeter of the basement to make way for the new drains.
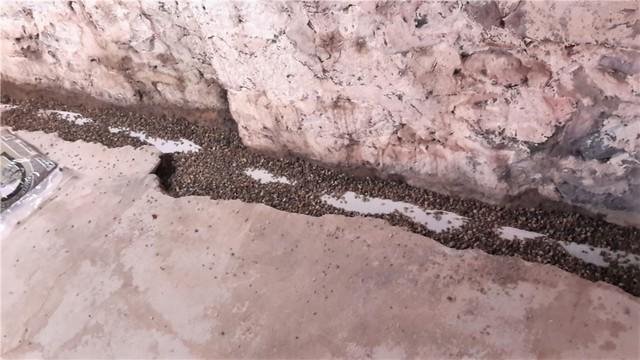
WaterGuard® Installed
From there, aggregate rock surround the drains to support proper drainage.
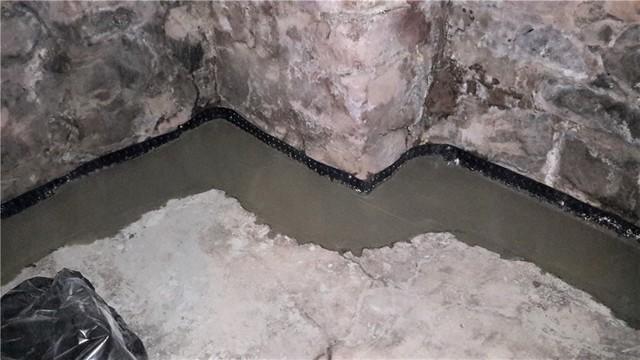
New Concrete Poured
Concrete is then mixed and poured on site to cover the new drain system.
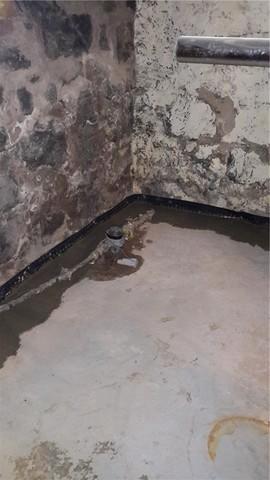
WaterGuard® Surrounds Entire Basement
To ensure the entire basement stays dry, we recommend the drain follows each basement foundation wall.
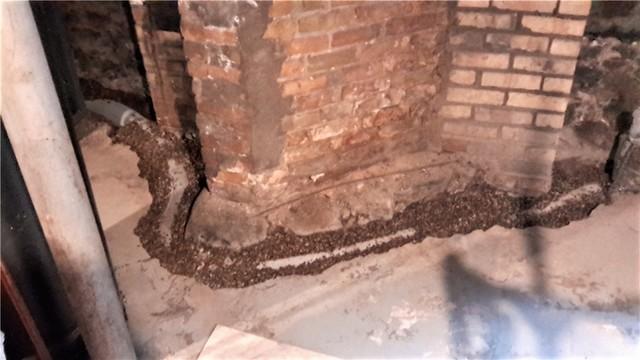
WaterGuard® Around Curved Wall
WaterGuard® is able to snake around odd wall placement.
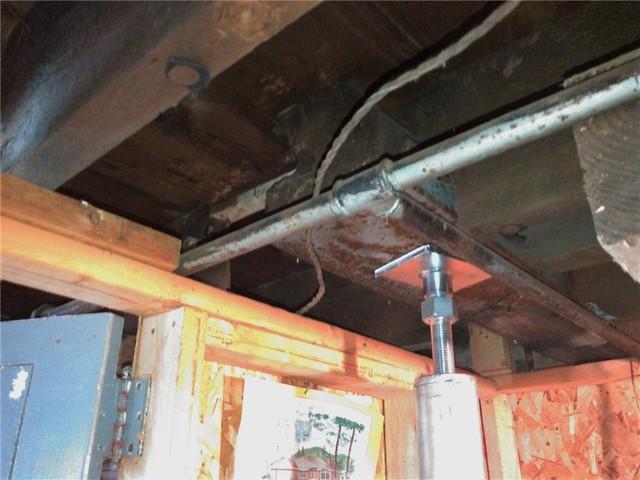
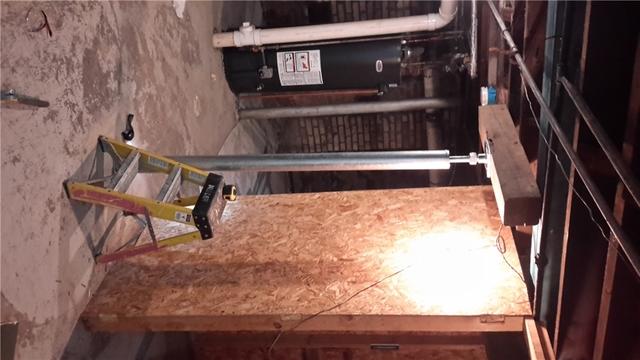
SmartJack® Location
This support beam will lift and support the sinking ceiling.
SmartJack® and Additional Framing
A DBS Foreman and production crew installed 3 SmartJack® XL support beams as well as extra framing of wooden support beams in the ceiling to restore the structural support for the rest of the home.
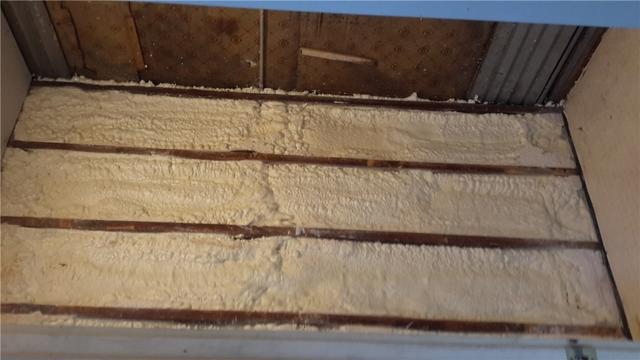
Spray Foam Insulation Applied
Pipes in the home were freezing due to lack of insulation.
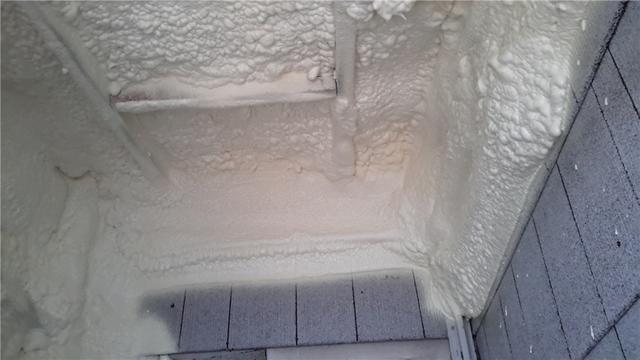
Spray Foam Applied
Spray Foam was applied to the exterior of the home to protect the flooring above it.
