
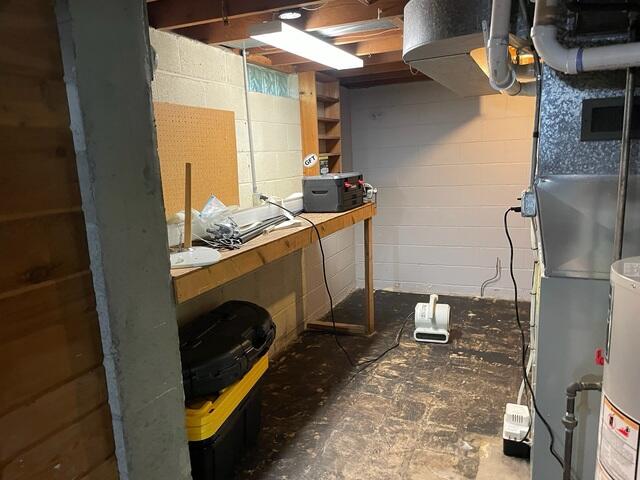
The Basement Before
This is what the basement looks like before we install our TripleSafe Sump Pump, wall encapsulation, and WaterGuard!
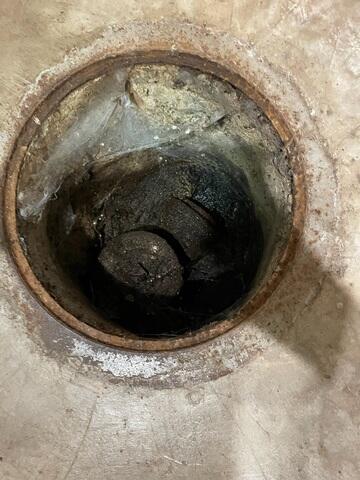
Old Sump Pump Basin
This is the old sump pump basion that we will be replacing with our TripleSafe Sump Pump!
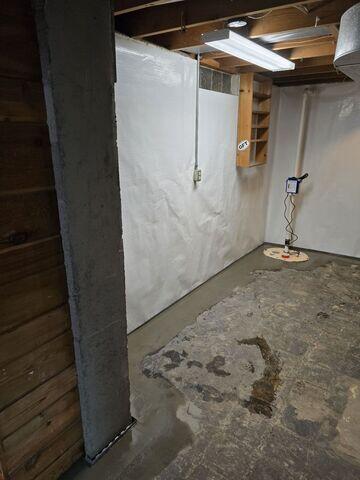
All New Basement!
We installed WaterGuard along the perimeter of the basement, and added water encapsulation and a sump pump for a fully waterproofed basement!
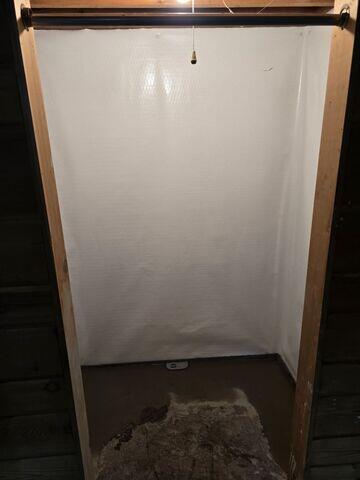
Small Closet
This tiny space was still encapsulated!
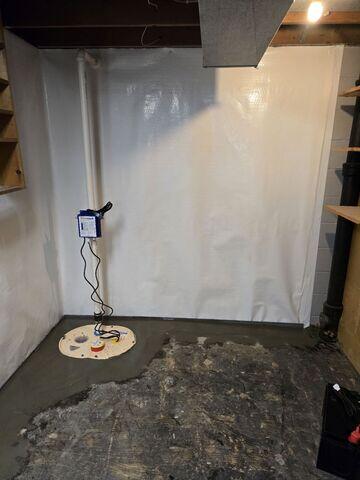
Sump Pump
We replaced the old sump pump with a new one and added water guard around the perimeter which leads right to the sump pump.

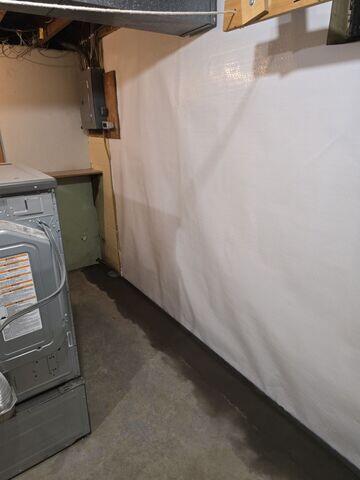
WaterGuard and Encapsulation
The whole basement was covered, even behind the washer and dryer
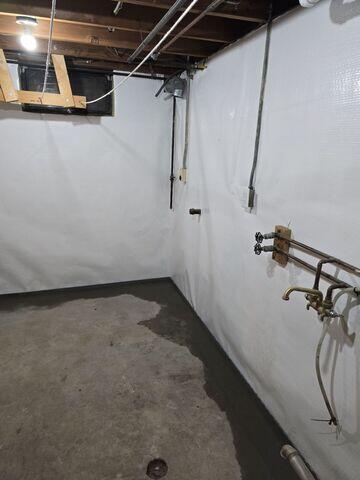
Getting in Every Corner
Every part of this basement was encapsulated, which helps direct moisture to the sump pump.
Before Placing the Washer Back
We cover the WaterGuard with concrete while the moisture that collects on the wall gets directed to the Waterguard.
