
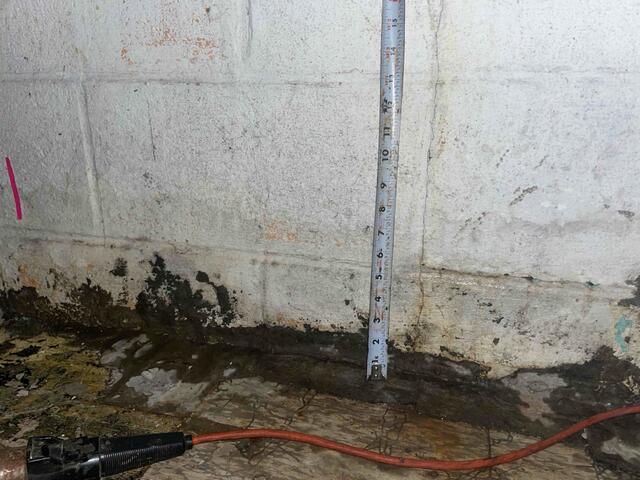
Footing
Appears to be about 3 inches of slab on top of the footing
Where WaterGuard Will Start
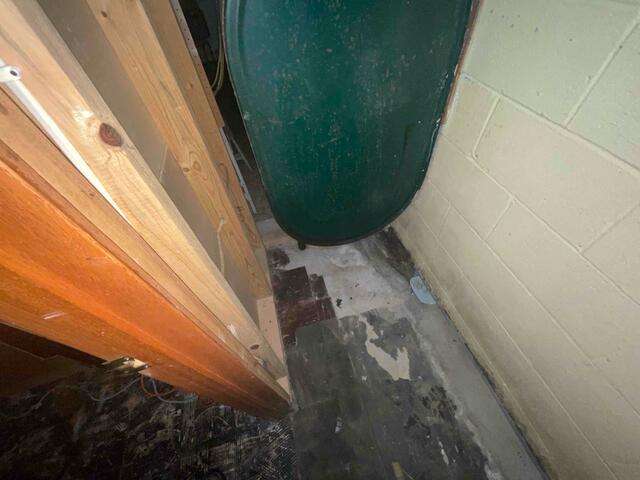
In front of the oil tank!
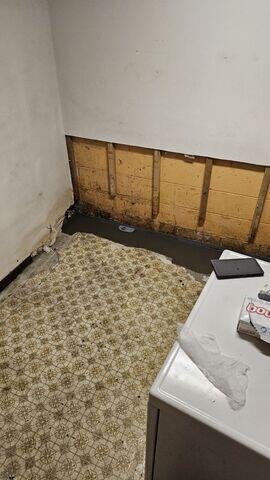
Existing WaterGuard
This is where the existing WaterGuard is
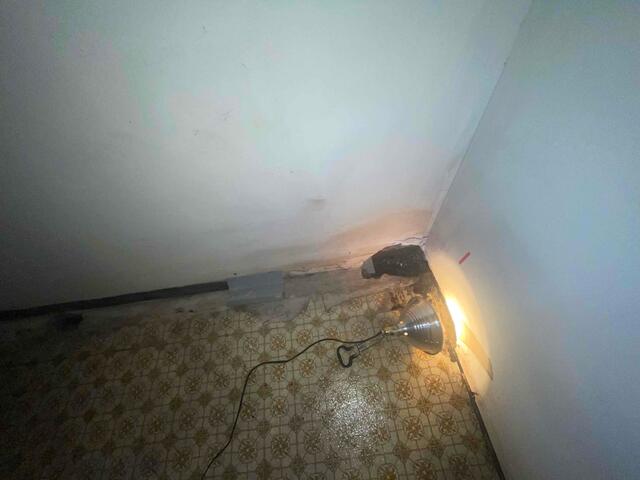
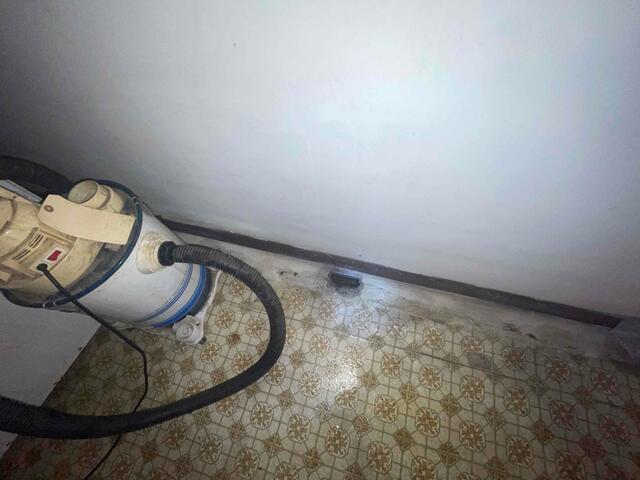
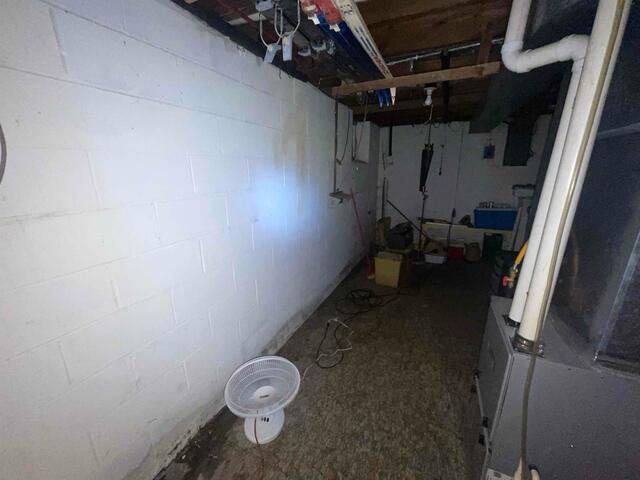
New Waterguard Location
This corner is where the new water guard will be placed
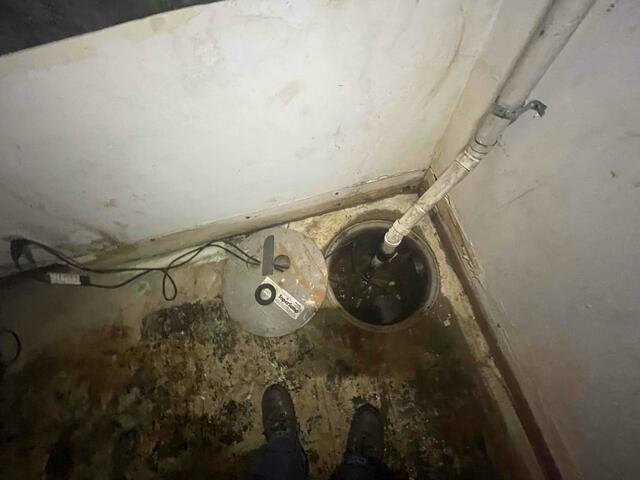
Old Sump Pump
DBS will be replacing this WaterGaurd with a newer, more reliable one!
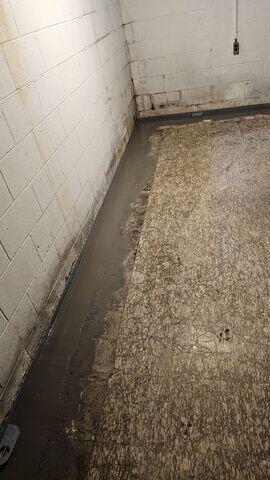
Newly Installed WaterGaurd
This water guard is installed along the wall where the old one was pictured in the other photo
WaterGuard Into Corner
See here how the Water Gaurd is connected to that corner to bring water to the sump pump.
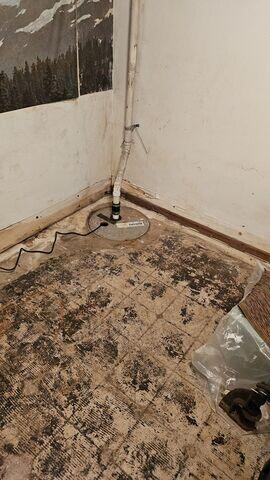
New Sump Pump
Fresh and new water pump was installed to connect to the WaterGuard!
WaterGaurd Along Wall
The WaterGuard goes all the way down the basement wall. About 20 ft!
